How to Fix Joy-Con 2 Drift and Connection Problems
A practical, calm route through unresponsive sticks, phantom movement, dropped connections and controllers that simply refuse to behave. Start with the easy checks, change one thing at a time, and avoid turning a small nuisance into an expensive repair job.
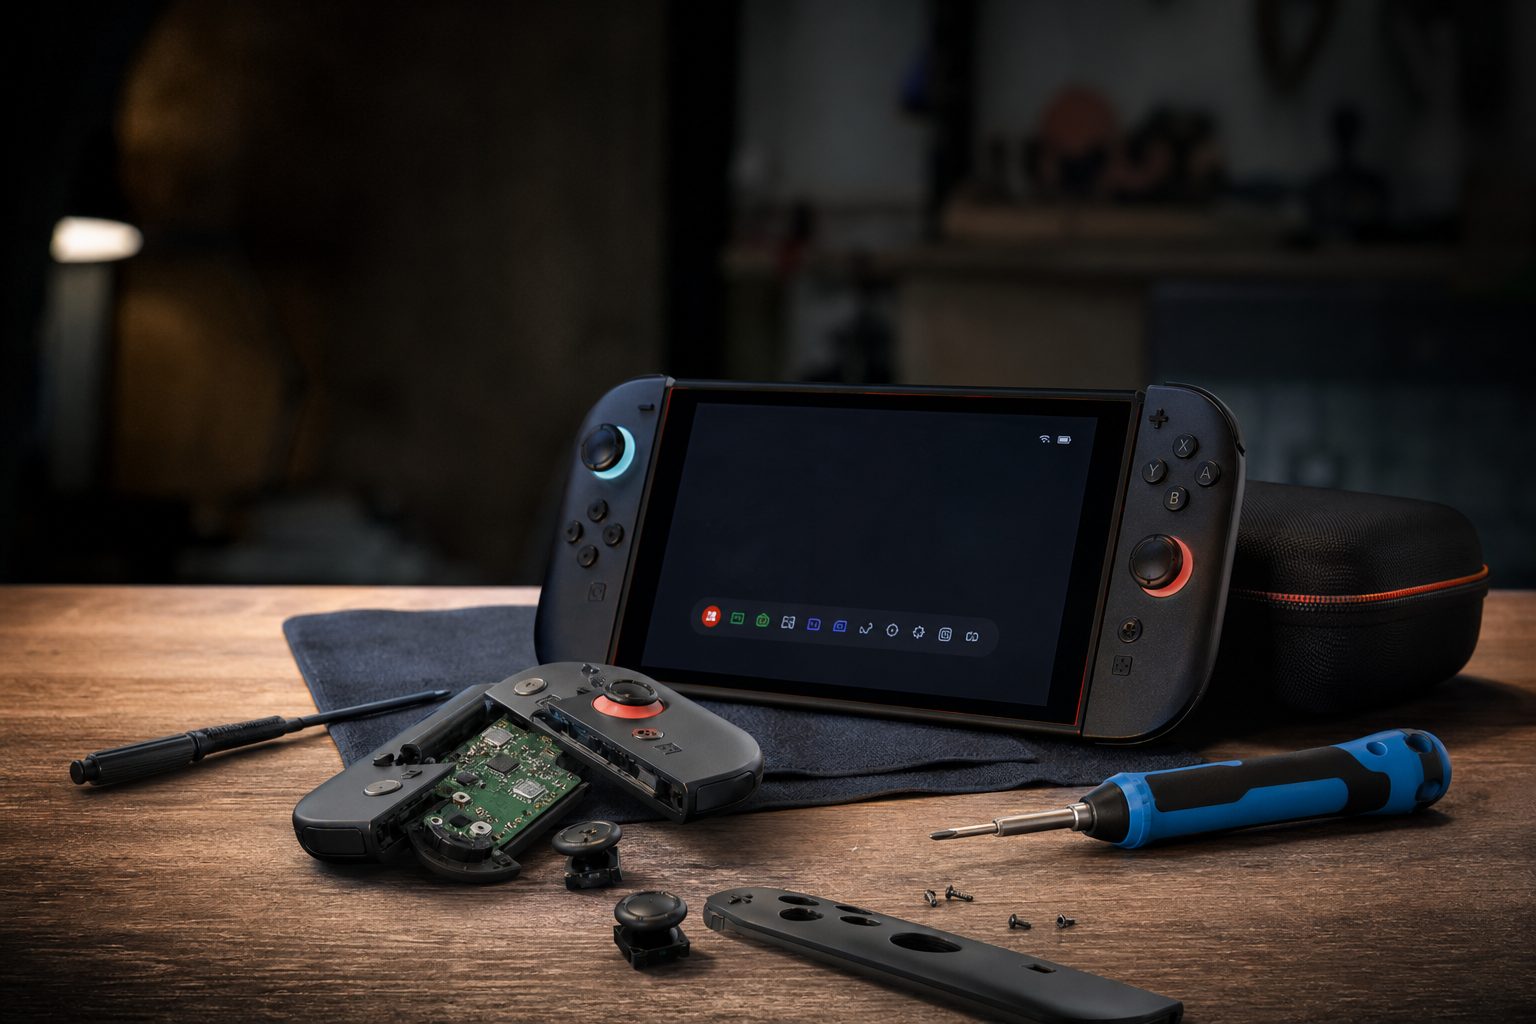
A controller problem is irritating enough; a repeatable troubleshooting routine makes it much easier to work out whether the culprit is setup, dirt, calibration or a genuine hardware fault.
1. First, work out what sort of problem you actually have
"My controller is broken" is an entirely reasonable thing to say after your character marches into a wall for the fifth time. It is not, however, a diagnosis. Drift and connection trouble can look remarkably similar from the sofa, especially in a busy game where the screen is already doing rather a lot.
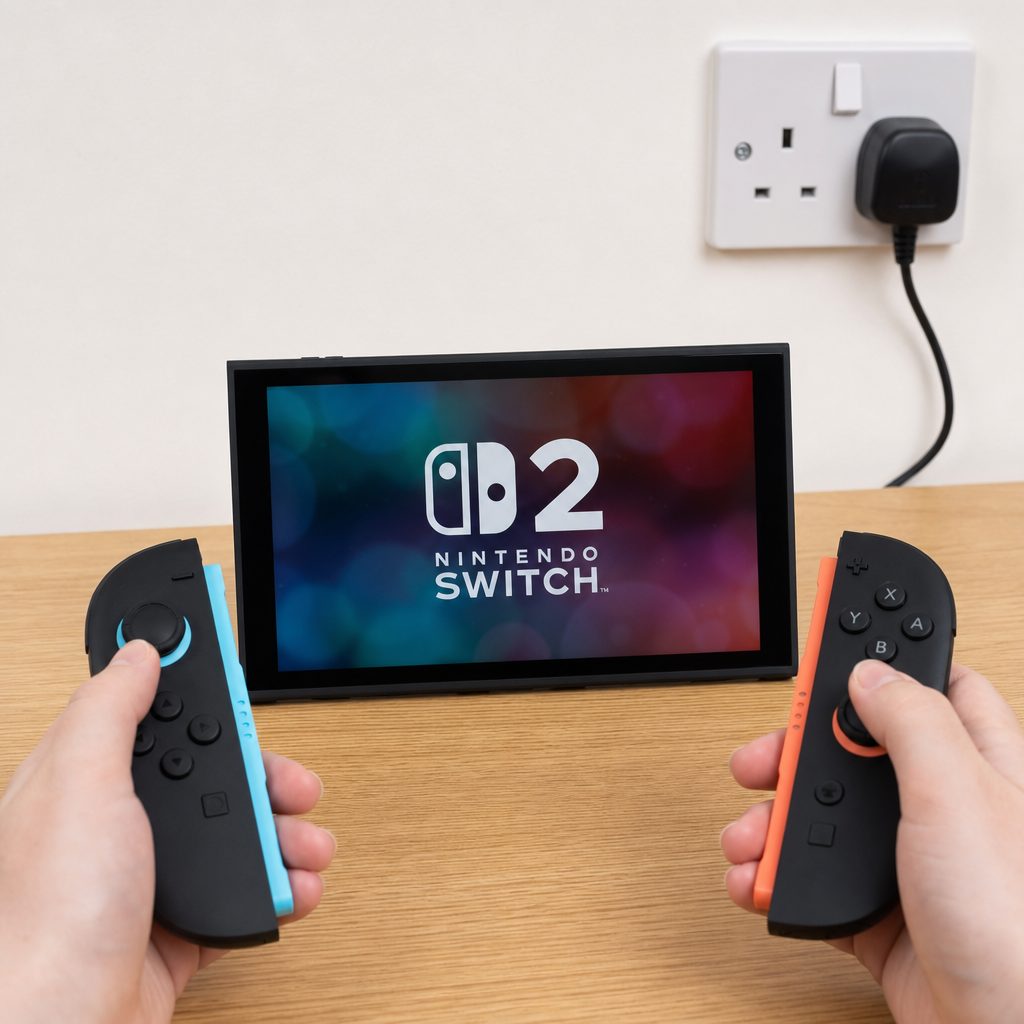
Testing both controllers in the same place is the quickest way to see whether the fault follows one Joy-Con 2 or the wider setup.
Drift usually means the on-screen cursor, camera, menu selection or character moves when you are not touching the analogue stick. Connection trouble is different: inputs may arrive late, stop entirely, repeat unexpectedly, or work perfectly for a moment before disappearing. A controller may also reconnect after a pause, which can make the stick look guilty when the wireless link was really the issue.
Before changing any settings, spend a few minutes observing the fault. Does it happen in every game or only one? Does it happen when the controller is held in the same position? Does it begin after the console wakes from sleep? Is it one controller, or both? These small details matter. They can save you from recalibrating a perfectly innocent stick whilst the actual problem sits elsewhere in the setup.
Do not begin by taking anything apart. A surprising number of controller faults respond to charging, a restart, cleaning around the moving parts or a new connection. Opening a controller before testing those basics is the electronic equivalent of removing the kitchen sink because the tap dripped.
2. Make a quick note of the symptom before you fix anything
This may sound fussy. It is also useful. Write down which Joy-Con 2 is affected, which stick or buttons misbehave, and what you were doing when it happened. You do not need a laboratory notebook with diagrams and a tiny clipboard. A note on your phone is plenty.
Then test the controller in a quiet, predictable situation. A menu screen is ideal because there is less visual chaos. Leave the stick untouched for a short while. Move it slowly in each direction and release it. Check whether it returns to centre cleanly, whether the motion jumps, and whether the issue appears only after a particular direction. If the symptom is intermittent, repeat the same test later rather than declaring victory after one good minute.
For connection problems, notice the pattern. A clean disconnection is different from sluggish input. So is a controller that only fails at a particular spot in the room. If it works close to the console but becomes unreliable farther away, you are likely dealing with the environment or wireless conditions rather than a dead control.
Repeat one test
Use the same menu or game situation each time so that changes are meaningful rather than guesswork.
Swap sides
Try the other Joy-Con 2 where practical. A fault that follows one controller is valuable evidence.
Notice the charge state
Make a note if trouble occurs after a long session or when the controller has not recently been charged.
Notice the room
Connection issues that happen only in one place often deserve an environmental check before anything more dramatic.
3. Start with power, charging and a full restart
It is boring advice. It is also the right advice. Before recalibrating or cleaning, make sure the console and the affected Joy-Con 2 have had a proper chance to charge. A controller that is low on power can produce confusing behaviour, particularly if you only notice the problem after a long evening of play.
Once charged, restart the console completely rather than merely waking it. A fresh start clears temporary oddness in the operating system and gives the controller connection a clean opportunity to establish itself. After the restart, connect the Joy-Con 2 again and repeat the exact test you made in the previous section.
Do this one controller at a time. If you make three changes at once—charge both controllers, move the console and recalibrate—you may fix the issue, but you will have no idea what fixed it. That is fine if you only want peace. It is less useful if the problem returns a week later and you are back at square one, staring at the television with the patience of a man assembling flat-pack furniture without the instructions.
A sensible order of operations
Charge first, restart second, reconnect third, test fourth. Only then move on to calibration or cleaning. This gentle sequence is low-risk and tells you far more than an instant leap to screwdriver territory.
4. Re-pair the Joy-Con 2 if the issue feels like a connection dropout
Shop Re-pair the Joy-Con 2 if the issue feels like a connection dropout on Amazon UK
If the controller is disconnecting, lagging, refusing to wake properly or appearing to work only after repeated attempts, treat the wireless relationship as suspect. Remove the controller from the active connection arrangement using the console's controller settings, then pair it again following the on-screen process.
Pairing afresh is worth doing even if the controller eventually reconnects on its own. A connection can be technically present whilst still being unreliable. The goal is not simply to see a controller icon appear; it is to have stable, predictable input while you play.
Once paired, test without moving immediately to the most demanding game you own. Begin with a menu. Then try a short, quiet section of a game. Finally, play normally for long enough to see whether the fault returns. If you only test for ten seconds, you may simply be catching the controller during one of its good moods.
Where possible, test the affected controller on its own before pairing other accessories again. This reduces the number of variables. If it works alone but becomes unreliable when the room is full of active devices, you have a much clearer reason to review your wireless surroundings.
5. Reduce wireless interference around the console
Wireless controller problems are not always caused by the controller. The console's position, nearby electronics, furniture and even a pile of things between you and the screen can change the experience. You do not need to transform your living room into a radio laboratory. You do need to make one or two sensible tests.
Start by moving closer to the console and keeping a clearer line between it and the Joy-Con 2. If the problem immediately improves, the controller has given you a useful clue. Next, temporarily move the console away from crowded cable areas or enclosed spaces, and switch off or move nearby wireless accessories one at a time if that is easy to do.
Do not overlook the obvious physical obstruction. A console tucked tightly behind a television, inside a packed cabinet or surrounded by chargers and cables may be less happy than one with a little breathing room. The goal is not to create a pristine shrine to gaming. A clear, sensible placement is enough.
If the fault occurs in handheld use but not when you play in another arrangement, that distinction matters too. Test the same Joy-Con 2 in both situations before deciding it is a stick fault. Connection problems are often situational. Drift is usually more stubbornly repeatable.
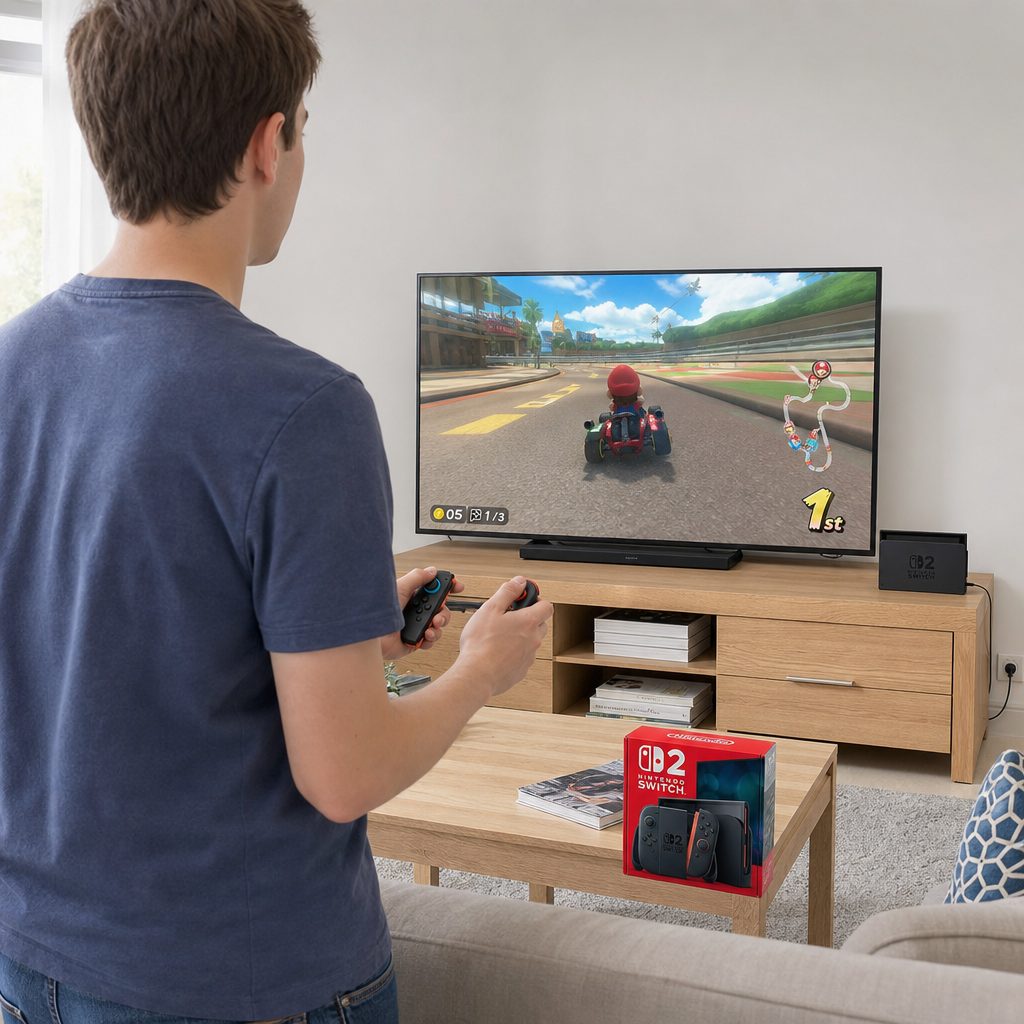
A clearer path between controller and console is a simple test when inputs become unreliable only in part of the room.
6. Recalibrate only after you have ruled out the easy causes
Calibration is useful when an analogue stick appears to have lost its sense of centre, but it is not magic. It cannot repair a damaged mechanism, remove dirt lodged beneath a moving part or solve a wireless dropout. Think of it as teaching the system how to interpret a stick that is otherwise still communicating reliably.
Use the console's controller calibration option and follow its prompts carefully. Put the console on a stable surface if you can. Avoid leaning on the stick or brushing it during the process. Move slowly and deliberately when asked; wild circles and hurried flicks do not make calibration more thorough. They merely make it harder to tell whether the input is behaving consistently.
When calibration has finished, return to your original menu-screen test. Leave the stick alone. Then move it gently through its range and release it. The important result is not that it behaves for one second; it is that it repeatedly returns to a stable neutral position.
If the calibration display itself shows erratic movement, jumping or a centre point that will not settle, make a note of that. It is a stronger sign that cleaning or professional support may be more appropriate than endless recalibration. Doing the same calibration over and over is understandable, but it rarely changes the answer after the second careful attempt.
Recalibration is worth trying when…
- The controller stays connected reliably.
- The stick movement is smooth but rests slightly off-centre.
- The issue followed a software hiccup or unusual setup change.
- You can reproduce the fault consistently in a basic test.
Recalibration is unlikely to help when…
- Inputs disappear altogether or arrive late.
- The stick jumps unpredictably during the calibration process.
- The controller shows signs of physical damage.
- The same fault returns immediately after careful calibration.
7. Clean around the stick gently, not heroically
Dust, crumbs, pocket fluff and the mysterious grit that seems to materialise in every family home can all find their way around a controller. A gentle clean is sensible. Pouring liquid into it, attacking it with a pin or using enough force to frighten the furniture is not.
Turn the controller off or disconnect it before cleaning. Use a dry, soft brush or a clean, lint-free cloth to remove loose dust around the stick surround, buttons and connection areas. Move the stick gently through its range as you clean around the edge. The aim is to lift visible debris away, not force it farther inside.
Avoid sprays, household cleaners and improvised fluids. Even when a cleaning product sounds harmless, it may leave residue, affect surfaces or enter places it should not. If you are considering a more involved cleaning method, pause and check the controller's official care guidance first. "It was on a forum" is not always the strongest warranty strategy.
After cleaning, allow the controller to sit for a moment, reconnect it and repeat the original test. If the behaviour improves, keep playing but stay observant. If it returns quickly, the issue may be deeper than surface debris.
Use restraint. Never force the stick, scrape under its edge with metal, or apply a liquid directly to the controller. A cautious clean can help; an aggressive clean can create a second problem, which is deeply unfair but very much how electronics work.
8. Use a controlled comparison to decide whether replacement is justified
Before replacing anything, compare the affected Joy-Con 2 with the other controller under the same conditions. Same console, same room, same game menu, same charge state where practical. You are trying to answer one simple question: does the fault follow the controller?
If only one controller drifts during the same test, only one drops connection at the same distance, or only one shows unstable movement after calibration, that points towards the controller itself. If both controllers suffer in the same place or at the same time, look again at the console placement, connection environment and system state before spending money.
This is also the point to be honest about how the controller feels. A stick that has to be held in a precise position to avoid movement, a button that works only after several presses, or a connection that fails in ordinary use is not something you should have to work around forever. Games are meant to be challenging in the fun bits.
| What you observe | Most useful next action | What it suggests | When to stop troubleshooting |
|---|---|---|---|
| One stick moves on-screen while untouched | Run a calibration check, then retest | A stick-centre or mechanical issue | If careful calibration does not hold |
| Inputs stop, lag or return after a pause | Restart and pair the controller again | A connection or power issue | If it fails in a clear, close-range test |
| Both controllers misbehave together | Review console position and surroundings | A shared setup issue | If the issue persists after a clean restart |
| Only one controller fails in every test | Clean gently and document the behaviour | A controller-specific fault | When the same symptom remains repeatable |
9. Know when to seek repair, replacement or official support
There is a point where more home troubleshooting stops being sensible. If a Joy-Con 2 has suffered a drop, has visible damage, becomes unusually warm, will not hold a connection after the basic checks, or continues to drift after a careful calibration and gentle clean, it is time to consider official support, repair or replacement.
Document the fault before you contact anyone. A short video of the stick moving on a menu without being touched can be useful. So can a concise note explaining that you tested after charging, restarting, reconnecting and calibrating. This is not about building a legal case worthy of a television drama. It simply helps you explain the problem clearly and avoids being sent back to repeat the first step without context.
Do not attempt a repair unless you are genuinely comfortable with delicate electronics, understand the risks and have checked the relevant support terms. Controllers are compact, closely fitted devices. A repair can be satisfying when it goes well; when it goes badly, it can turn a drifting stick into a controller that does not power on at all.
For most households, replacement is the cleanest answer once the fault is isolated and repeatable. It is particularly sensible if the controller is needed for family games, visiting friends or a child's favourite weekend routine. Nobody wants a four-player game night held hostage by one rogue analogue stick.
10. Choose the right route for your household
There is no medal for taking the hardest route. The best answer depends on what the tests revealed, how confident you feel and how much disruption the controller is causing. A careful recalibration may be all that is needed. A fresh pairing may solve a wireless nuisance. A controller with persistent mechanical symptoms may need a more final solution.
Best for a mild drift symptom
Try calibration first. It is the sensible pick when movement is smooth, the controller remains connected, and the centre point simply seems wrong.
Best for dropouts and lag
Restart and pair again. This is the best first route when the controller cuts out, reconnects unpredictably or ignores input altogether.
Best for a controller used everywhere
Clean gently, then retest. Useful when the issue appeared after travel, outdoor use, snacks nearby or a long spell in a drawer.
Best for persistent faults
Use official repair or replacement support. The right choice when the fault is repeatable after every low-risk check has been completed.
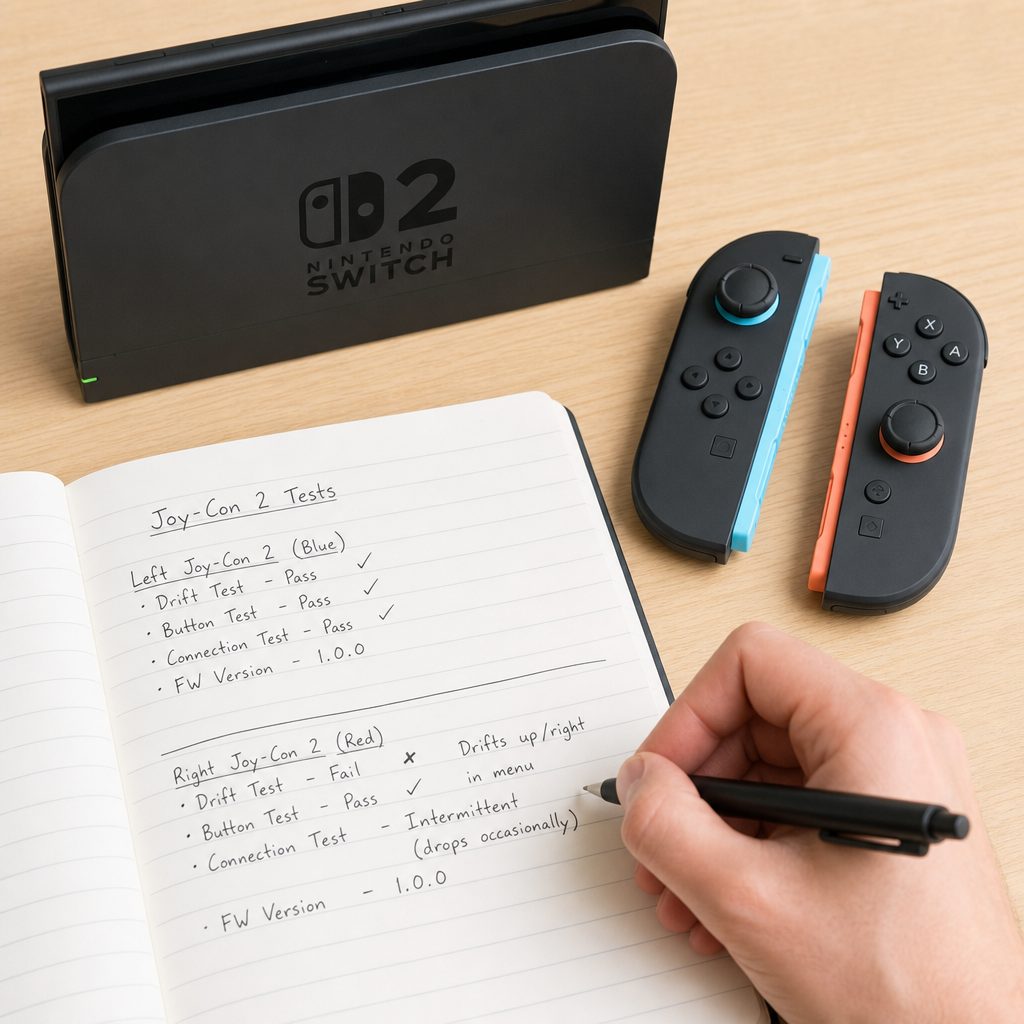
A simple written record of the tests you have completed makes a repair or replacement conversation much quicker and clearer.
11. Keep drift and connection problems from becoming recurring guests
Not every controller fault can be prevented, but a few habits make it easier to spot trouble early and reduce avoidable wear. Store controllers somewhere dry and reasonably clean rather than at the bottom of a bag with loose snacks, cables and whatever else has accumulated since last summer. It is a small thing. Small things are rather good at becoming large things in the world of controllers.
Try not to leave analogue sticks pressed against objects during storage. Avoid forcing a controller into a cramped case. When you finish playing, give the controller a quick visual check if it has been used outdoors or around food. You are not polishing silver. You are just making sure nothing obvious is caught around the moving parts.
For connection reliability, keep the console in a sensible position and avoid burying it in a dense thicket of equipment and cables where possible. If a connection problem appears after changing the room layout, adding accessories or moving the console, revisit those changes before assuming the Joy-Con 2 itself has suddenly failed.
Most importantly, deal with a new symptom when it is still small. A slight off-centre movement is much easier to investigate calmly than a fault you have ignored for months because you became weirdly good at compensating for it. We have all done it. We should not have to.
12. Frequently asked questions about Joy-Con 2 drift and connection faults
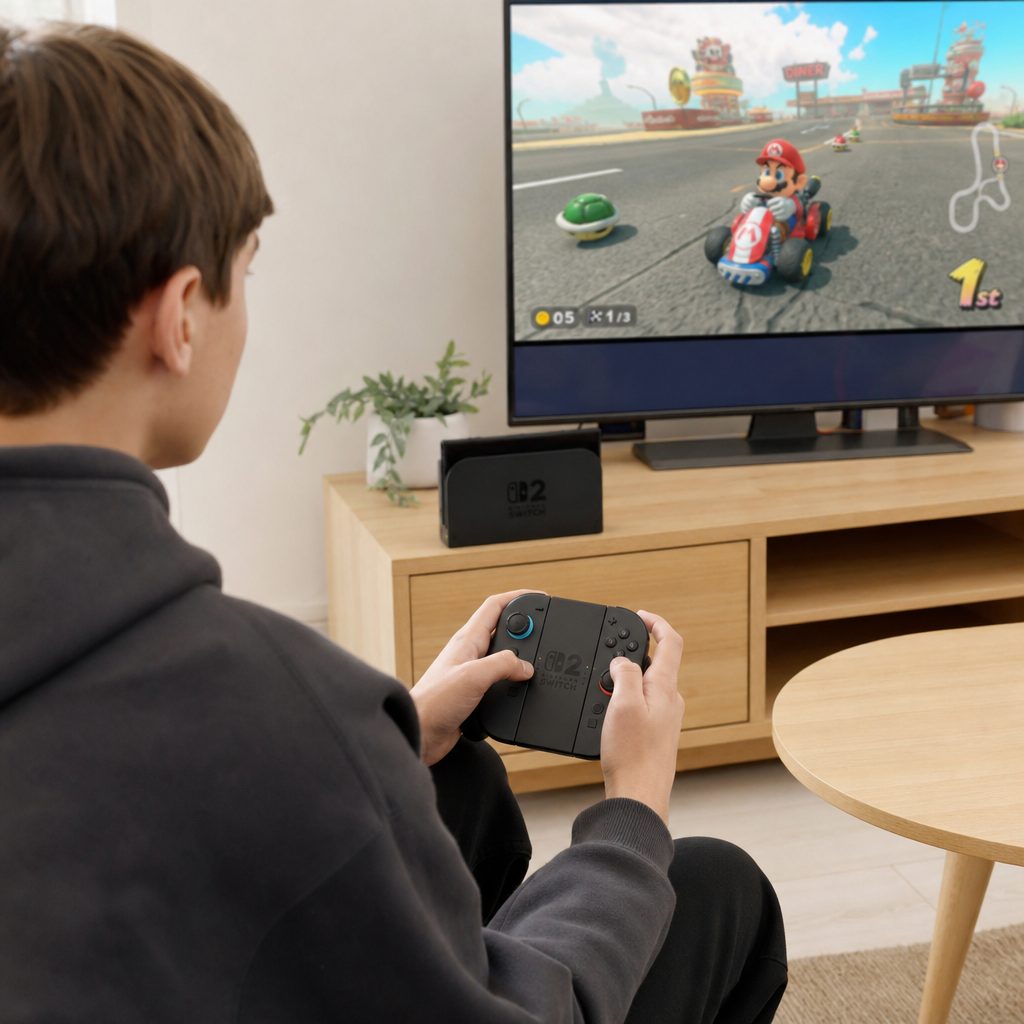
The best final test is ordinary play: after each change, use the controller normally long enough to know whether the improvement is real.
The bottom line
Most Joy-Con 2 trouble deserves a methodical response rather than panic. Charge, restart, reconnect and test first. If the issue is clearly a stick-centre problem, calibrate once with care. If it is connection-related, simplify the environment and pair the controller again. A gentle clean is sensible when debris is plausible.
If one controller continues to drift, drop connection or behave erratically in the same simple test after those steps, do not spend weeks negotiating with it. Document the fault and move on to official support, repair or replacement. Your games should be full of difficult decisions. Whether your character walks left by itself should not be one of them.